
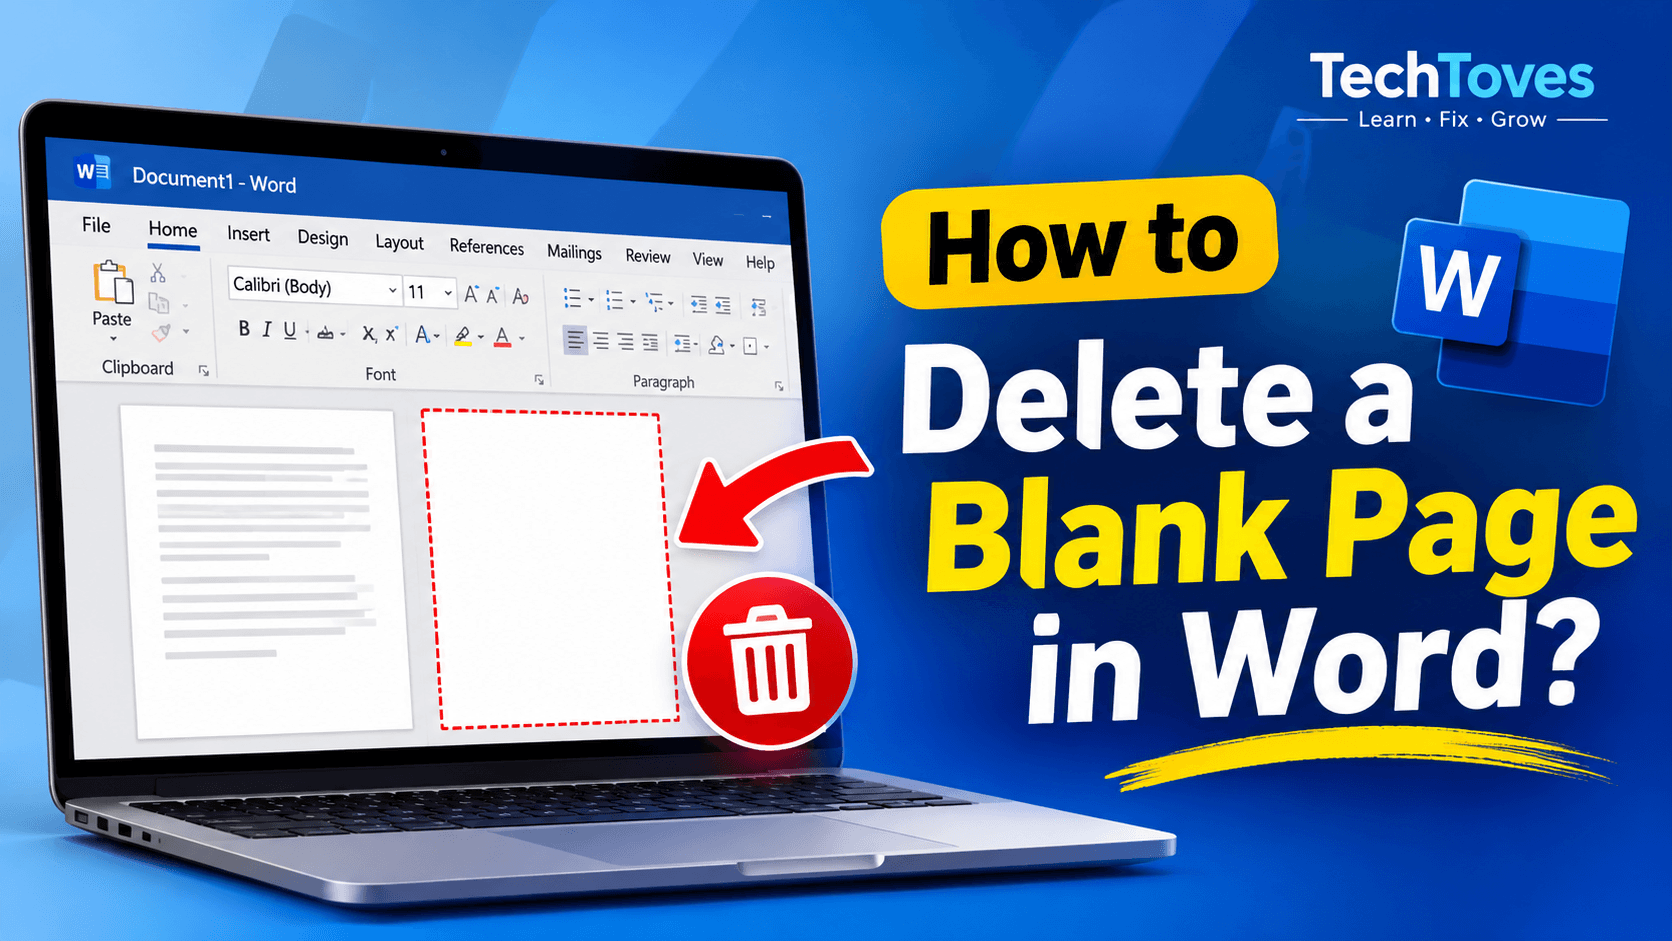
Extra blank pages in Microsoft Word can be annoying and confusing. Deleting a page seems easy, but sometimes that blank page just refuses to go away. Learning how to delete a blank page in Word is important if you want your document to look clean, professional, and well-formatted.
Typically, blank pages often appear at the end of documents or between content sections. They can affect printing, PDF conversion, and overall layout. The good news is that once you understand why they appear, removing them becomes much easier.
This guide explains the most effective methods to remove blank pages for Windows and Mac users, along with practical troubleshooting tips. In this article, you will learn step-by-step solutions to remove blank pages from your Word documents easily and permanently. So let’s get started.
Why Blank Pages Appear in Word Documents?
In order to fix the problem, you must first understand the problem that why blank pages appear in Word. White pages do not appear accidentally; they are most often brought about by undocumented formatting. Some of the common causes are the additional paragraph marks, page or section breaks, or tables/images that extend beyond the bottom margin. Moreover, transferring data in PDFs or any other Word document may also create unnecessary spacing. These elements are usually hidden, which is why many users do not notice them. When formatting symbols are turned on, the problem is seen and then can be fixed.
How to Delete a Blank Page in Word That Contains Content?
Deleting an image or text page is straightforward. But choosing to remove the entire contents or dealing with concealed formatting leading to hidden space or an extra page can be difficult.
Step-by-Step Method
Click on the place where you would like to delete the page. Highlight all the text, images, and spaces, and then hit the delete button on Windows or backspace on Mac.
In case the page does not disappear, enable paragraph marks by clicking on the Home space show or hide button ¶. This demonstrates that they are formatted out by hand unless one uses them up until no blank page is left.
How to Delete a Blank Page In Word Document Using the Navigation Pane?
When the simple deletion method fails, the Navigation Pane becomes invaluable. It provides you with a visual preview of all the pages in your document. Especially, it is applicable in long documents where it is difficult to scroll and manage the document from top to bottom. Scrolling overall enables you to easily see blank pages effortlessly and delete them precisely.
Navigation Pane Method
Moving on to the next method: select the Navigation Pane under the View tab in the Word ribbon. Tap on the Pages option to view page thumbnails. Click on the empty sheet of paper and press Delete.
How to Delete a Blank Page in Word on Windows?
Windows users have powerful keyboard shortcuts that make this task easier. These shortcuts reveal hidden formatting elements that usually cause blank pages.
Windows Shortcut
You can press Ctrl + Shift + 8 by clicking anywhere in your document. This is the presentation of paragraph marks and page breaks. To get to a particular page, scroll to the blank page or press Ctrl + G to get directly to that page.
When you find the additional paragraph marks or page breaks, select them and press Delete all at once.
How to Delete a Blank Page in Word on Mac?
Similar to Windows users, the process is the same with Mac users, except the keyboard shortcuts are different. The reasoning is the same: unveil the concealed layout’s hidden space and eliminate it.
Mac Shortcut Steps
Click inside the document and press Command + 8 to show paragraph marks. Scroll down to the blank page or use Option + Command + G to jump to it. Select the unnecessary paragraph marks or page breaks, then keep pressing Delete until the page disappears.
This approach is very effective for users trying to learn how to delete a blank page in Microsoft Word on macOS.
How to Fix a Blank Page at the End of a Word Document?
A blank page at the end of a document is one of the most common issues. Word automatically inserts a final paragraph that cannot be deleted, and occasionally it moves to a new page.
To correct this, display paragraph marks and select the final paragraph. Reduce its font size to 1 pt, which helps it fit on the previous page. If the page still exists, slightly reduce the bottom margin from Layout > Margins > Custom Margins.
Additional Troubleshooting Tips
If the blank page still does not disappear, try checking for section breaks and deleting them. Resize tables or images that touch the bottom margin. Review headers and footers for extra spacing. Please ensure the document is not protected, and convert folder files to the.docx format if necessary.
Conclusion
Understanding how to delete a blank page in Word saves time and prevents formatting frustration. Once you know how Word handles spacing and hidden elements, fixing these issues becomes quick and stress-free. With the methods mentioned in the article above, you can confidently manage space in your documents and maintain a clean, professional layout every time.

Disclaimer
The content published on TechToves is provided for general informational and educational purposes only. Our articles, guides, reviews, and recommendations are intended to help readers better understand technology, products, and related topics.
While we make reasonable efforts to ensure that the information published on this website is accurate and up to date, TechToves makes no guarantee regarding the completeness, accuracy, reliability, or suitability of the information for any particular purpose. Product specifications, prices, availability, features, and other details may change without notice.
Readers are encouraged to independently verify important information with the relevant manufacturer, authorized seller, or qualified professional before making purchasing decisions or taking any action based on our content. Any decision made in reliance on the information provided is at the reader’s own discretion and risk.
To the fullest extent permitted by applicable law, TechToves and its team shall not be liable for any loss, damage, or inconvenience arising from the use of, or reliance on, information published on this website. This includes decisions made based on product reviews, comparisons, recommendations, technical guides, or other website content.
This content is not a substitute for professional advice where such advice is necessary. Any external websites or third-party resources linked in our articles are provided for convenience, and TechToves does not guarantee the accuracy or availability of their content.
Nothing in this disclaimer excludes or limits any liability or rights that cannot lawfully be excluded or limited.

There are no comments